Advanced Use of Sumo Paint, a Free Alternative to Photoshop
Check out this one on "Working with Layers."
As I began to feel more comfortable with the program, I started to experiment. First, I tried to change the original image by modifying the Curves (Found under ADJUSTMENTS.)
Here is a Before and After of one of my earliest attempts.
Here are two Afters which I personally think turned out much better than the originals.
One thing that kept escaping me was how to use layers, and use them with a level of confidence and expertise.
See the reveal below: I can't wait to show you the finished image! I absolutely love it! Finally, I am starting to feel competent, but I had to master several skills first:
1. How to get rid of unwanted parts of an image and turn the remainder into a png file. I needed to do this in order to make sure when I blended the images I did not have white in those areas I erased.
2. How to change the colors of specific layers prior to composing my image (Try using the buttons under the ADJUSTMENT tab, like HUE, CONTRAST, etc. or the Drop Down List under LAYERS on the right-hand margin.) I like to make a copy of the image by right-clicking and duplicating the layer so I still have the original with which to compare it.
3. How to stretch and move images without affecting the other layers. I had to make sure to select the FREE TRANSFORM button under the EDIT tab (There are other ways to access it, but using this button was the easiest way to select the entire image.)
4. How to illuminate a photo using the LIGHT EFFECTS filter.
5. How to erase unwanted parts and/or lighten specific sections (easily done by erasing with a lower FLOW percentage) to add to the layering effect while composing the image.
Drum roll, please!!!! Here is the moment you have been waiting for...
the big reveal!!!! :)
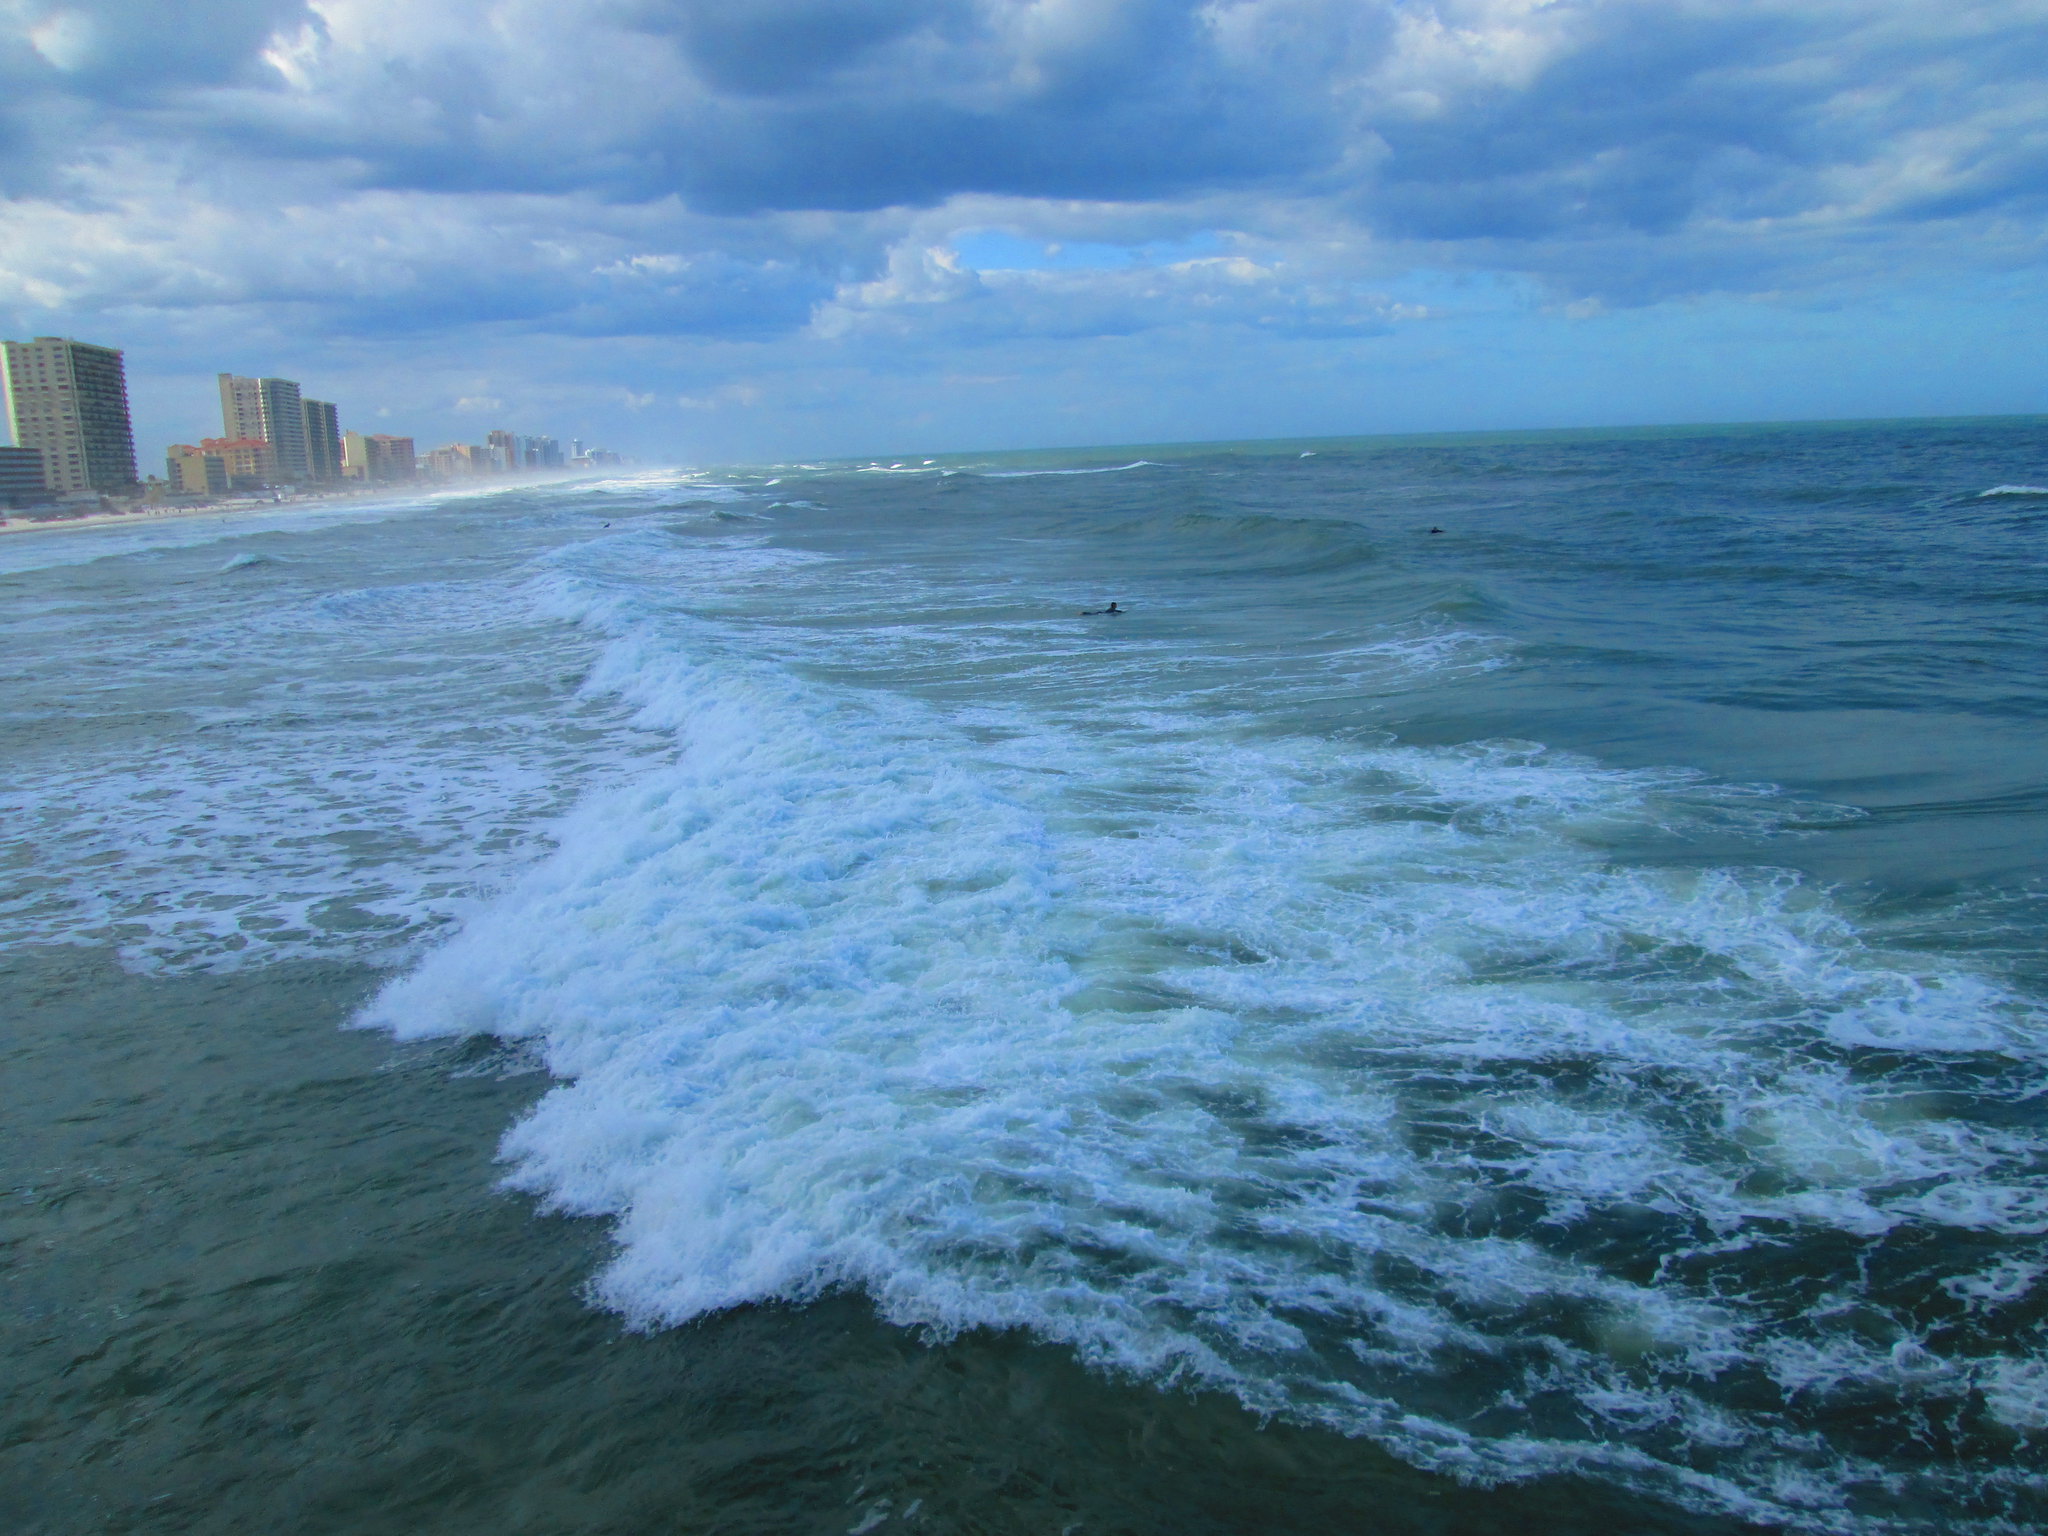
I took two of my images taken in Daytona Beach, Florida that I thought were "just okay" and combined them using the steps above. You can see the first one in the BEFORE, and the second one was of clouds I really liked. Needless to say, I am excited to try again. Failure definitely leads to success. The key is to never give up! Check out my other attempts here!
I would love to hear about your photographic breakthroughs, whether while shooting or in post-processing. Let's keep the conversation going!
Post questions, comments, and tips below.
Please do me a favor and share this post. :)
Talk to you soon!
-Elyza
No comments:
Post a Comment
I'd love to hear what you think.